This shop has been compensated by Collective Bias, Inc. and its advertiser. All opinions are mine alone. #MNYLooksofLove #CollectiveBias
Okay, so let’s be blunt. I usually have zero time for applying my makeup. I love makeup and everything that goes with it, but I just don’t have the time and energy to do an amazing job with it on an everyday basis. With Valentine’s Day coming up, I know I will be spending a little time on my makeup and outfit for a little date with my hubby so I think it’s fitting that I put together some easy looks of love for your everyday housewife.
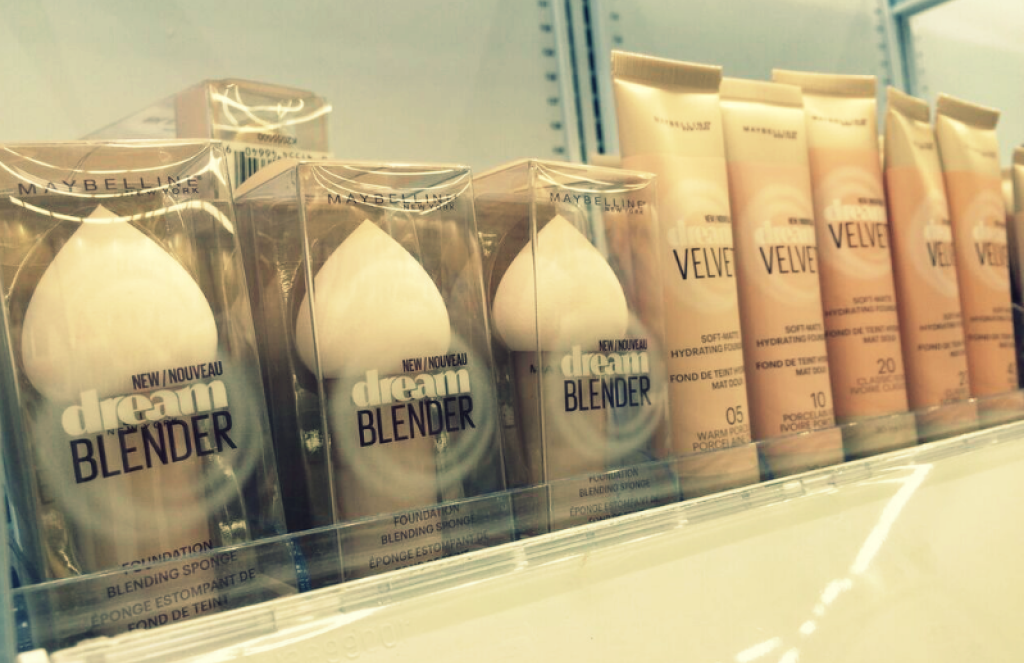
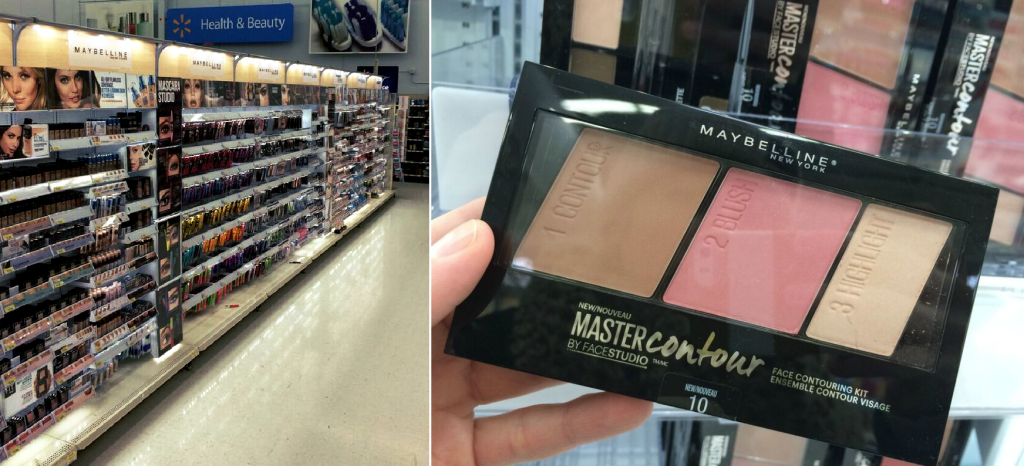
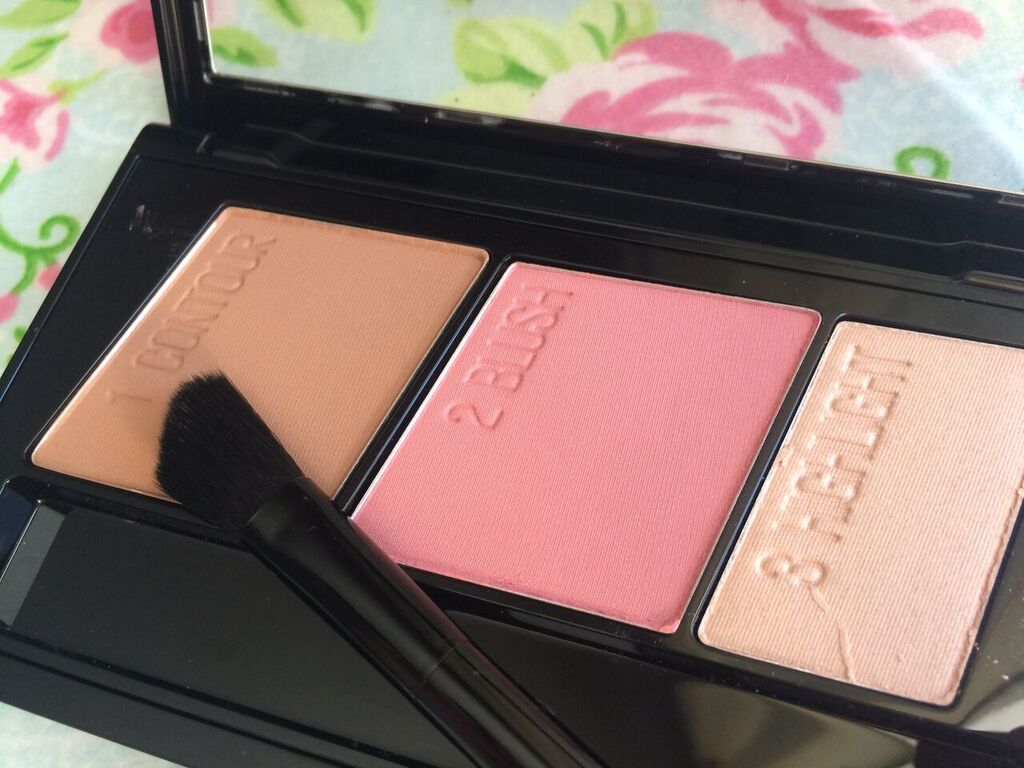
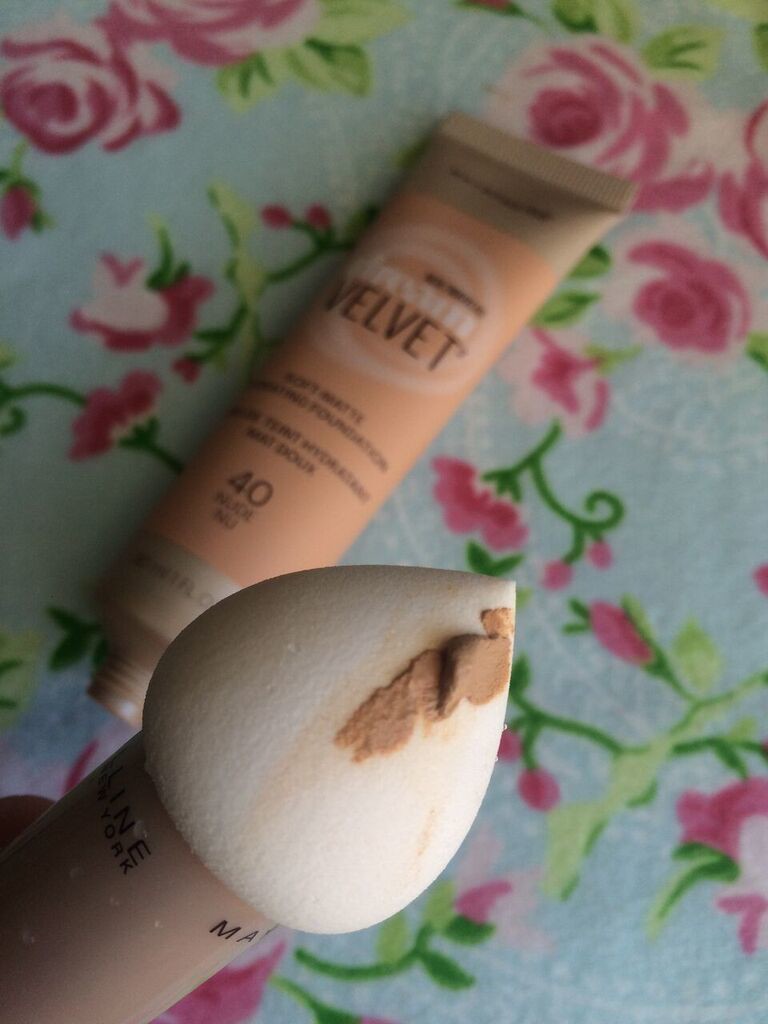
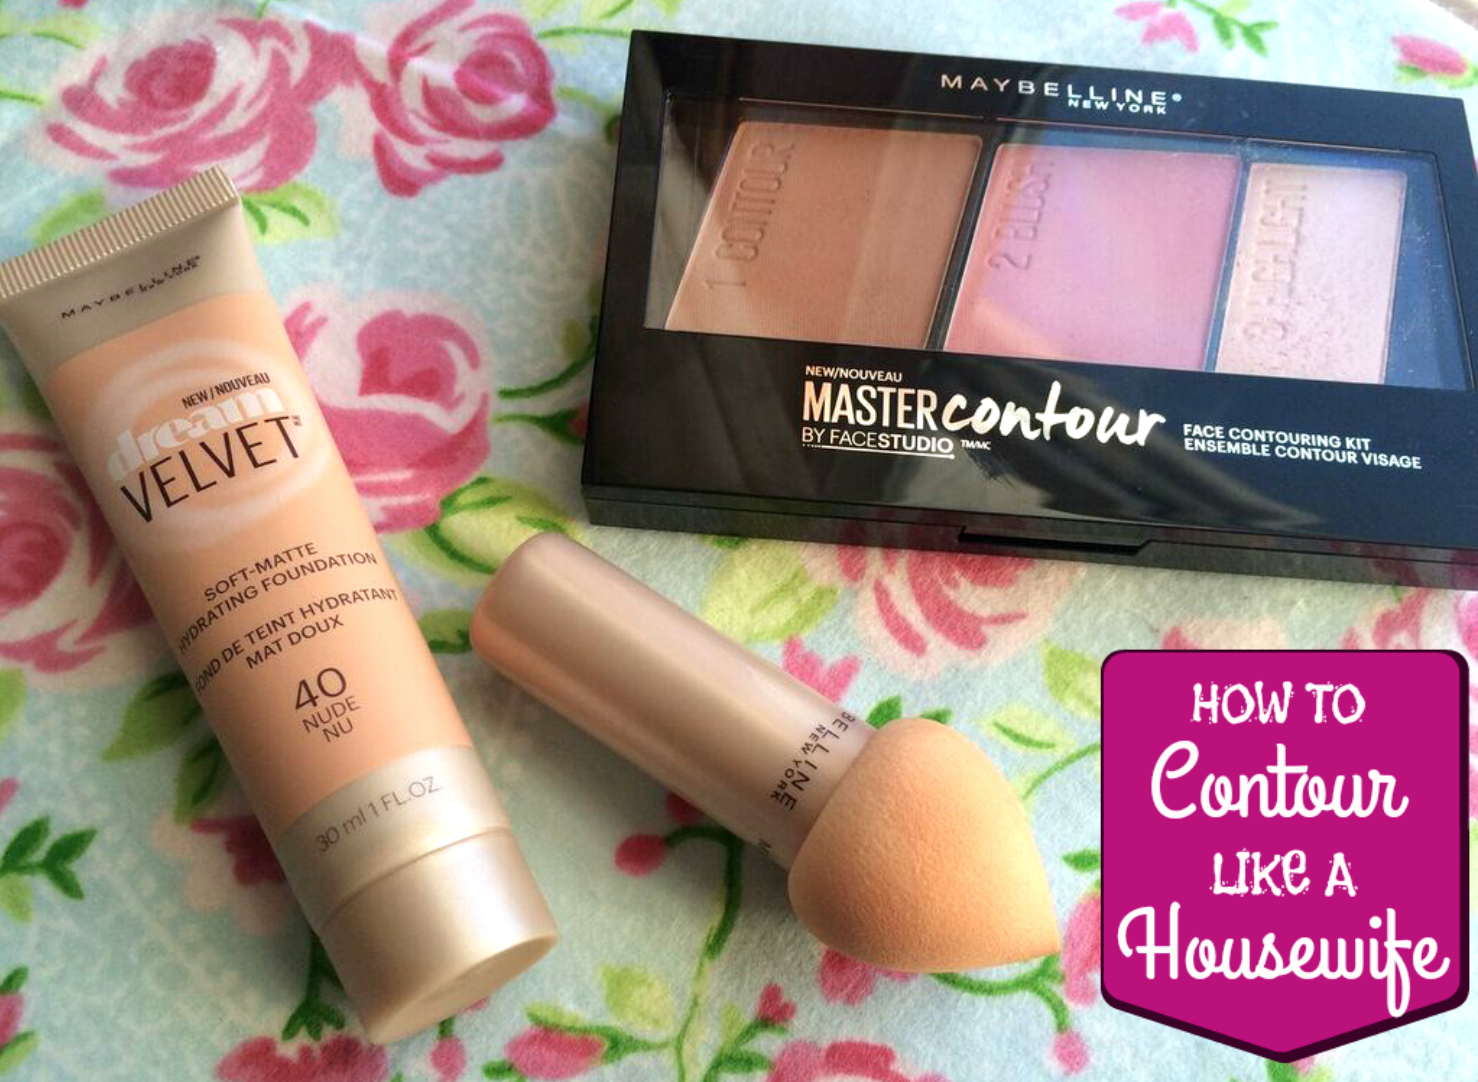
On my most recent trip to Walmart, I found some great makeup pieces in the Health & Beauty aisle. First off, the Maybelline Dream Velvet Foundation, the Dream Velvet Blender and this amazing Master Contour Palette. It makes contouring easy, affordable and beautiful!
If you’ve never contoured your makeup before, don’t worry because I’m going to outline it for you! But essentially the thought behind it is that it emphasizes your glow (typically your T-zone) and shades your darker areas creating a thinning effect for your face.
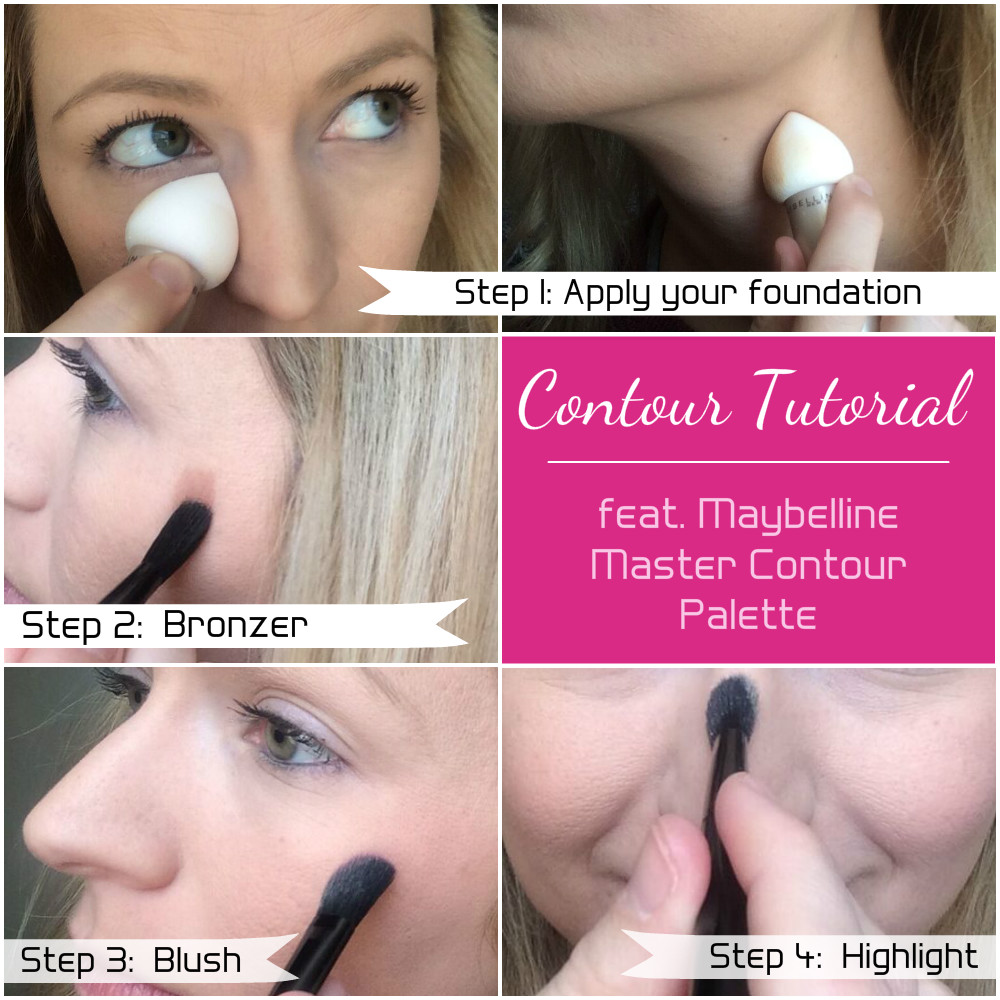
STEP 1: FOUNDATION
The Maybelline Dream Velvet Foundation gives a smooth, matte coverage for the base. I use the Dream Velvet Blender (after first getting it wet and then dabbing it off a bit) to smooth the foundation on evenly. I think these types of sponges are best for applying foundation because you don’t get the hard lines you might typically get when just using your fingers to apply. Make sure when you’re applying your foundation that you blend all the way down your neck so that you don’t get any end lines on your chin. I like to bring the foundation down on the two sides along your throat to help emphasize a thinner line there.
STEP 2: BRONZER
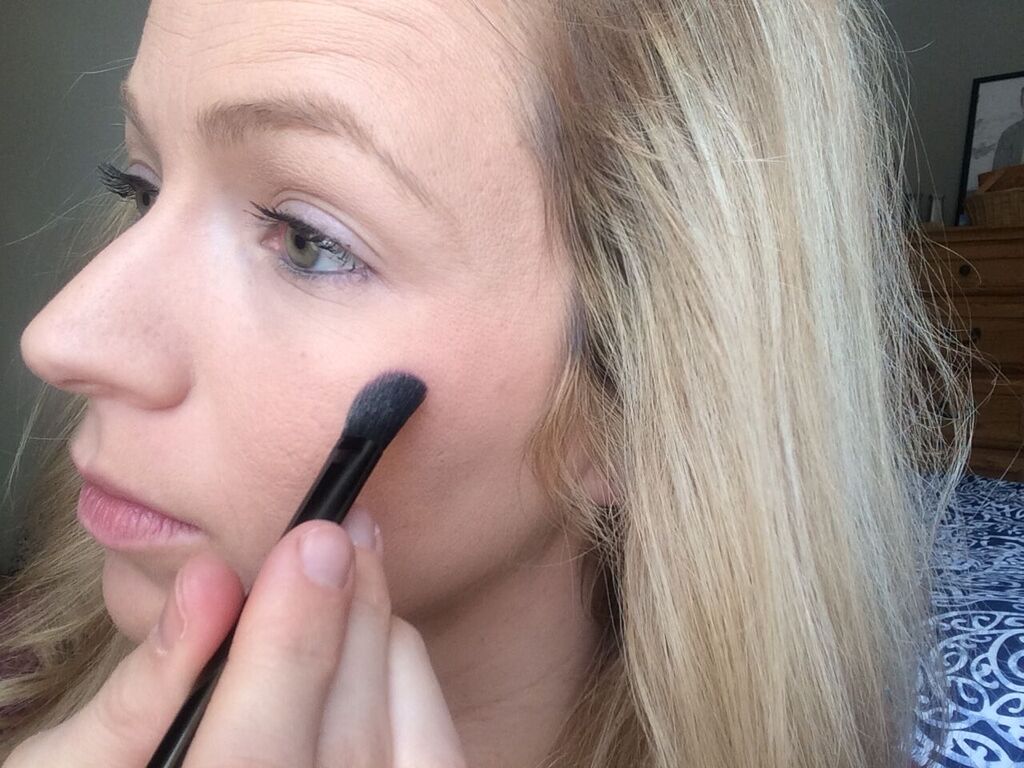
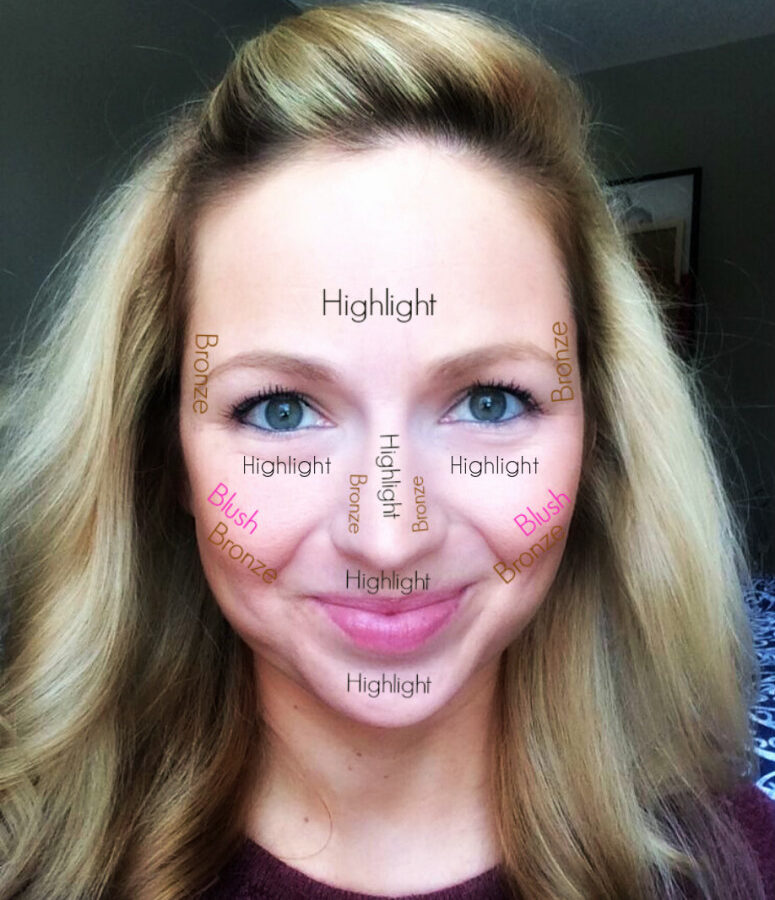
After you’ve applied your foundation, it’s time to beautiful with bronzer. You’re going to take the angled brush provided in the Master Contour Palette and draw a line from just above your temples, down the side, under your cheekbone and end just above your jawbone. Do this on both sides of your face, then blend the line in with your foundation so that there are no obvious lines. You may want to do this a couple times until you get the darkness desired. Don’t forget to bring this down to your neck grooves as well to make it look as natural as possible. Some people choose to use a little bronzer on the sides of their nose as well.
STEP 3: BLUSH
The blush is going to be applied in a small line, just above the bronzer by your cheekbone. It will give a rosiness to your cheeks which will help you look young and glowing! Blend this as well so that there are no hard lines. I like to using my Blender sponge for this because it does such a nice job evening out the colors.
STEP 4: HIGHLIGHT
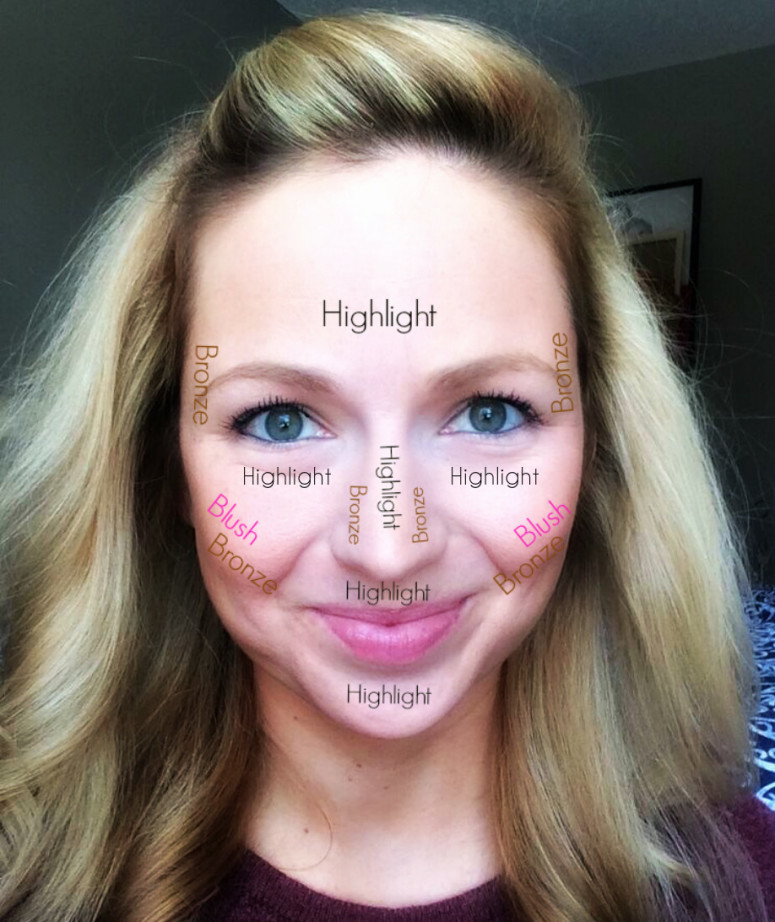
This will be the final step in your contouring process. What you want to do is highlight what you’d imagine the sun would hit if it were to shine on your face. This means your cheekbones, the bridge of your nose, the apple of your chin, the center above your lips, and the center of your forehead. These are the areas you want to pop out, not tone down. Blend until your colors seem even and there are no obvious lines.
To better demonstrate your bronze, blush, highlight zones, I’ve put together the following image for you!
Every time that I do a television segment, I spend extra time contouring. It makes a big difference in photos as well, so if you have a special occasion coming up, put the extra effort into your makeup and you won’t be disappointed when looking back at the photos.
Here is my before and after of contouring with the Maybelline Master Contour Pallette:
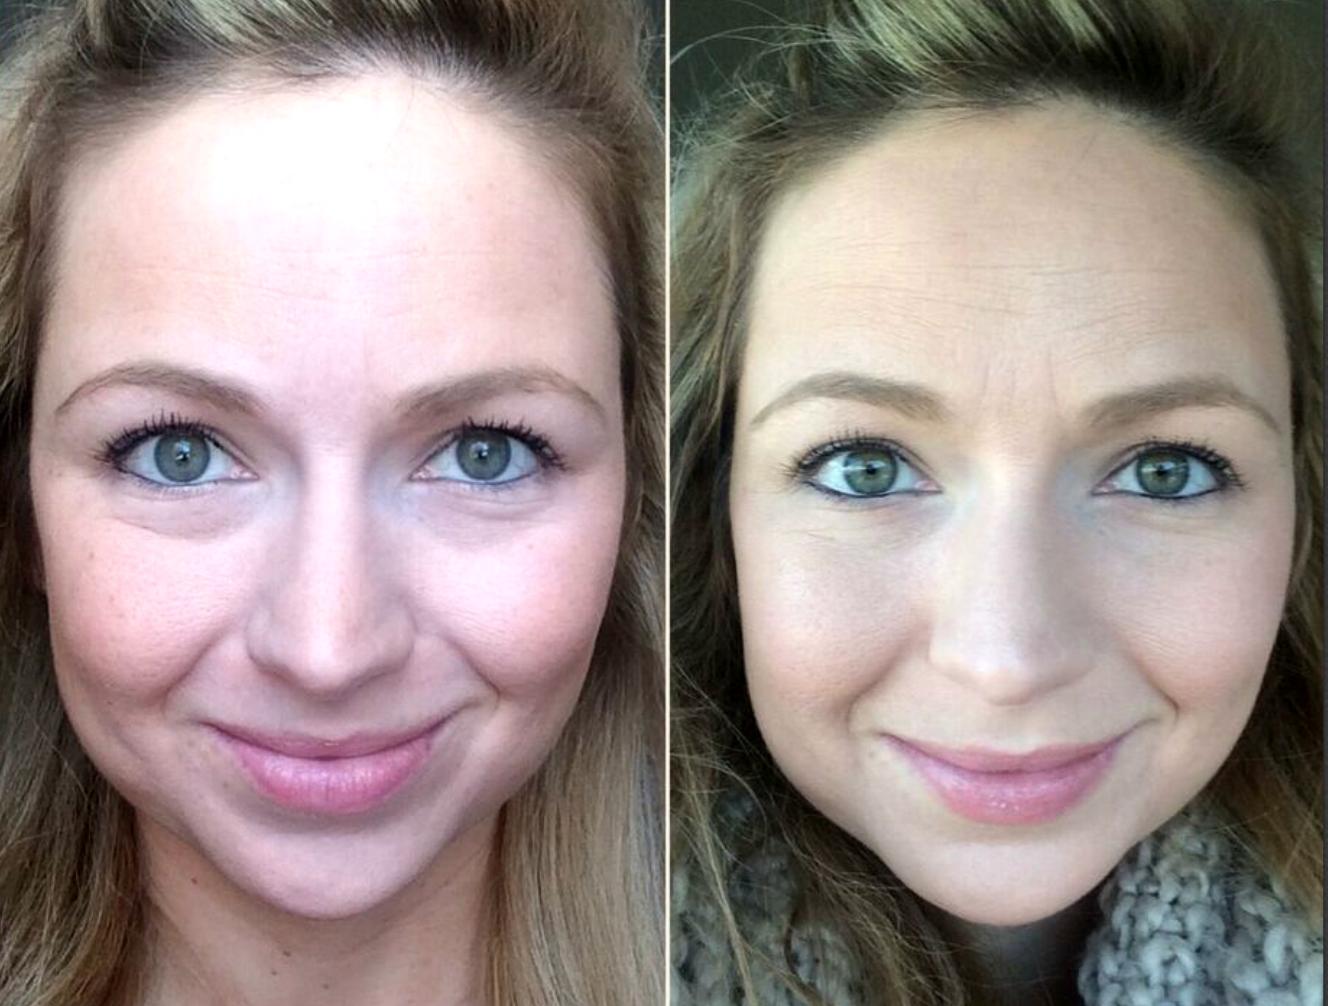
Before (left) and After (right)
About The Products
Maybelline Dream Velvet Foundation – This gel-whipped formula is perfect for normal to combination skin types and gives a nice, medium coverage which is just perfect for skin like mine. I like to cover up the uneven skin tone that I have, but I don’t like feeling like I have caked-on foundation. This hydrating, matte foundation was a perfect match for me!
Maybelline Dream Velvet Blender – Blending is so much better with a beauty sponge. It gives even coverage with a super smooth finish. Not to mention, it’s perfect for covering little crevices and cracks that would be difficult to reach otherwise. When you’re done, just wash with a cleanser and allow to dry, then use again next time!
Maybelline Master Contour Palette – The perfect all-in-one combo, the contour palette helps to define and highlight your face in mere minutes. It’s easy to use, and there is even a guide on the back of the palette in case you need a refresher in contouring!
Have you contoured with your makeup before? What tips do you have for someone who hasn’t tried before? Or, if you haven’t contoured before – why haven’t you? Will you now? 🙂
Hearts,
Sarah

Summer Davis
It looks flawless! [client]