Well, since we put a deck on our house, we’ve had a little bit of an awkward situation. We’ve got a small window that overlooks the deck, and that window just happens to be in our bathroom… Needless to say, it needed a curtain, and badly.
I kept my eyes peeled for some sales to get a curtain rod and curtain for cheap, but no luck. I looked at Goodwill, and other thrift stores but I just couldn’t find what I was looking for. Finally, Macy found me a small tension rod at Goodwill for $2.99 and it was perfect!
With me being cut off and all (that’s a whole other story… oofta) I had to work with what I had for fabric. It just so happened that I had fabric that had a pretty pattern on it and would look good with the other colors in the bathroom so I went with it!
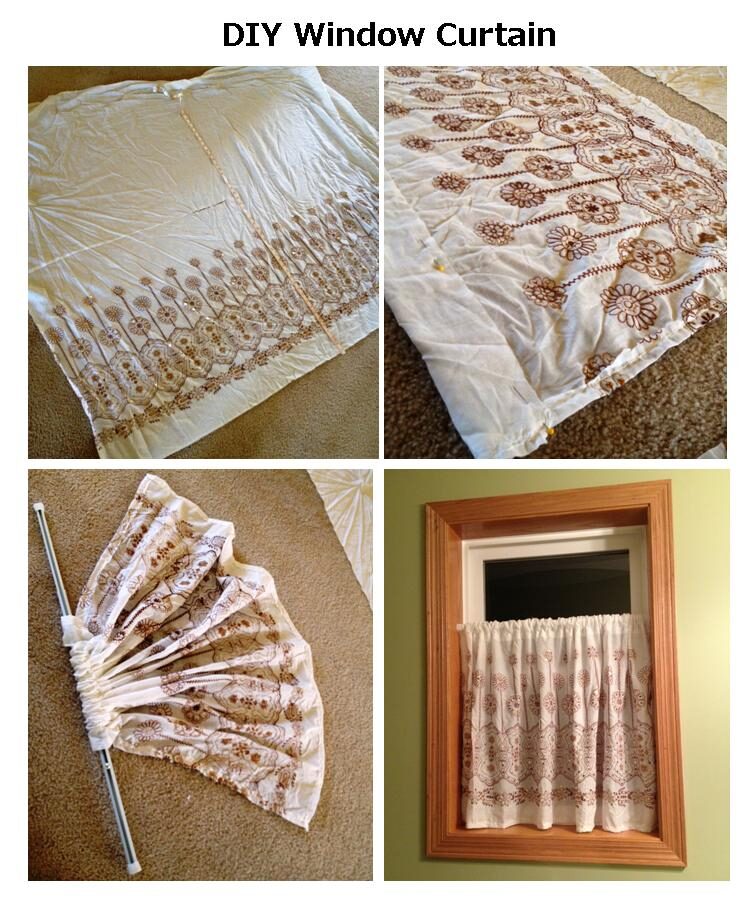
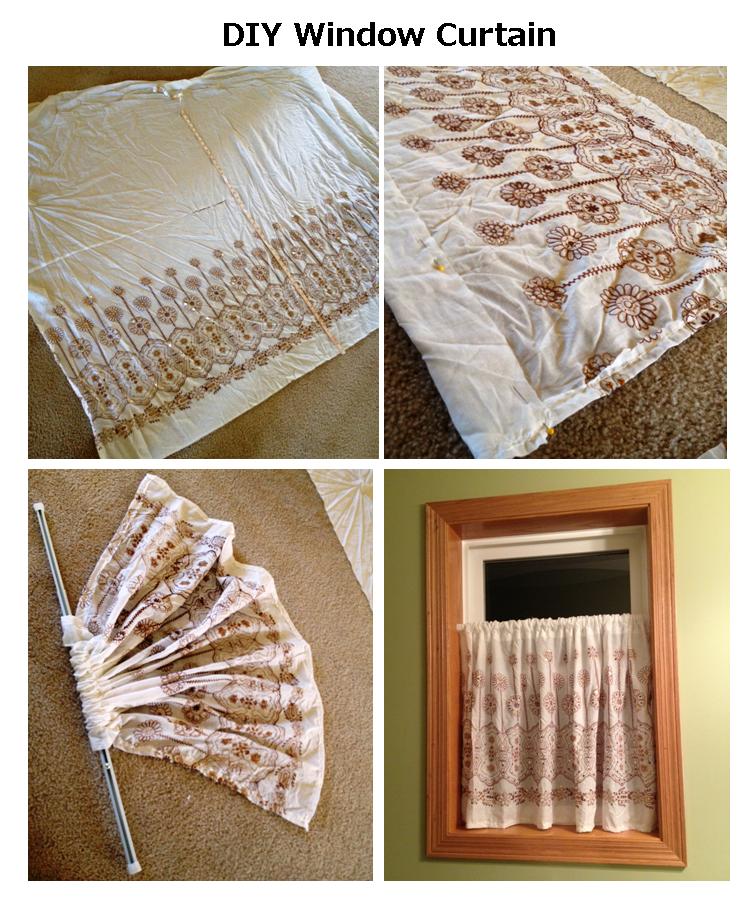
First I’ll show you a summary of my steps, and then you can find the directions below!
Step 1
First I measured how far up I would need the top of the curtain to be. It was 25″, that’s what my final curtain had to be. So I measured my curtain at 28″ to allow for the bottom seam and the top big seam where the rod would go in.
The fabric was cut, and seams pinned and I was set to go!
Step 2
After doing the two side seams, I finished off with the bottom seam. If you’re doing a curtain with a design on it (or pattern), be sure that your top and bottom seams are level so your pattern is straight when it’s hanging.
Step 3
Figure out the width of your tension rod that will need to fit through your big top seam. From there, pin where your seam will be and go to town!
After all your seams are sewn, snip off all the excess material, but leave a little past the stitch so that it doesn’t unravel or you don’t accidentally snip a stitch.
Step 4
Take your rod and fit it to your window. You should be able to put it in and see about where the screw would be for it to fit correctly. Take out the tension rod and make the rod a little wider than what you had it set as. The spring inside will allow a little give when you insert it with the curtain, and it’ll be snug then.
Step 5
Take your tension rod and string on your curtain. Then insert your tension rod into the window – make sure it’s level and that the top of the curtain is almost resting on the ledge but not quite or it looks kind of sloppy!
And Voila! You’re done! You’ve got yourself a beautiful, handmade curtain.
You should be so proud 🙂
Hearts,
Ruby
See Our Other Craft Projects:


Leave a Reply